


kl0buk
-
Posts
35 -
Joined
-
Last visited
Content Type
Profiles
Forums
Developer Articles
KSP2 Release Notes
Bug Reports
Posts posted by kl0buk
-
-
1 minute ago, IgorZ said:
It's definitely not from KIS/KAS. And if it's from a third party-mod (which I think it is), then this mod is affected by this. I'd love to help, but the author of the mod should do the work. Sorry.
Sorry I always thought that's KIS/KAS item... My bad.. As I said, I'll just wait until I get screwdriver from your mod and I will be fine
") Thanks for the support and quick replies. And good luck with your real looking hoses
Thanks for the support and quick replies. And good luck with your real looking hoses
-
11 minutes ago, IgorZ said:
Could you please clarify the difference between the "classic screwdriver" and the "non-classic" one? KIS only gives one screwdriver, and it's "E-SD80 Electric Screwdriver". Anything else is not KIS or (obviously) KAS.
I'm not on my PC and I don't know the name of that part but I always thought that it's KIS/KAS item. It's classic non-electrical screwdriver that looks like this:

-
@IgorZ Hi, I was trying yesterday to equip screwdriver in sandbox. I can't equip it but I can equip electrical screwdriver and wrench. So I can wait in my career to unlock electrical screwdriver and I will be fine. I was able to attach parts without any problem so I will just wait until I will unlock it in tech tree. But it's really strange that I can't equip classic screwdriver. I'm using also some other mods so maybe it's because of some conflicts or something like that if no one has the same problem in 1.5+.
And btw I like your new project with real looking hoses
Looking forward to see the prototype.
-
2 minutes ago, IgorZ said:
That's weird. Could you please share a log?
Yes of course but I will be on my PC tomorrow. I'll send a log ASAP thank you.
-
1 hour ago, IgorZ said:
Wrench and screwdriver are available at different tech levels. There is no limit to the kerbal's level.
Hi and thank you for your reply. I have both wrench and screwdriver in my kerbal inventory but I can equip only wrench. If I try to equip screwdriver the hand is empty..
-
Hi guys,
I want to ask if my engineer have to be rank 2 or higher to equip screwdriver because I can equip only wrench in my career so far :-/
Thanks
-
2 hours ago, wossname said:
Awesome work, this is very impressive. I have a question about your metalwork...
How did you get the black colouring inside the engraving on the metal panel? Is that a service that your metal company provided? If so what is the method called that they used to put the black colouring in there?
Is that an epoxy-based ink or something? It looks amazing.
Hi, it was done by laser. I think it's a CO2 technique or something like that...
2 hours ago, roboslacker said:Would this work on an arduino leonardo?
I don't know.. maybe yes. We took arduino mega because we didn't know exactly what we will have on the panel from beginning and we wanted to be sure that we will be able to extend the panel if we want to
-
14 minutes ago, RealKerbal3x said:
If you've not heard of it, it's a weekly KSP devnote mixed in with some real space news.
I love your control panel by the way! That's some serious dedication!!
Ohh, thank you for the info
I will be starting new KSP career soon so maybe I'll post some video directly from action
-
On 9/29/2018 at 12:57 PM, Freshmeat said:
Grats on getting the thread featured in daily Kerbal. Out of curiosity, what sets of information have you chosen for orbital parameters?
Daily kerbal? I have to check all parameters but we have just basic stuff like Ap and Pe, surface speed and orbital speed, time to node, lon. and lat ...
On 9/29/2018 at 1:43 AM, Tomicktwo said:Can you make a wiring diagram of the controller and a list of all the parts used
Hi, we don't have wiring diagram and I will not make one. You can find list of parts in hugopeeters project. Switches are up to your preference.
-
On 9/23/2018 at 7:18 PM, Freshmeat said:
That is an impressive panel. How did you make the front plate?
Hi, I made a vector drawing in draftsight, separate files for cutting and also for labels. After that I've sent it to external company and they made it from stainless steel using laser cut machine. It was quite expensive, outcome was bad because labels were barely visible so it had to be fixed by another company. In the end we paid double money for these panels but it was finally as we wanted to be.
-
Hello all,
Today I want to share with you our development process of making two control panels and I’ll try to answer your most frequent questions.
Me and my friend (Ferrdo_Kerman on this forum) always wanted to build control panel for Kerbal Space Program, so we can have even greater experience while playing this fantastic game. This year we finally had this opportunity and time to make this happen. Ferrdo is very skilled in HW and SW so he is the one who decided which HW do we need, how to put it together and also rewrote the base code that we have used from another project. My job was less technical, I worked on design, box, switches variants and I helped with the soldering of course
But let’s start from beginning.
1. Preparation Phase
We were inspired by hugopeeters project. He made excellent job and our life much more easier because we didn’t have to start from scratch. So really big thanks and credit goes to him. You can check his project with many details here:
I will not go so deep into the details because they are already covered in his project but I will just mention that for the communication with the game we used KSPSerialIO plugin which can be found here: https://forum.kerbalspaceprogram.com/index.php?/topic/60281-hardware-plugin-arduino-based-physical-display-serial-port-io-tutorial-10-06-17/
So we bought our first Arduino mega, cables, basic switches, basic stuff and started on our panels. We mainly bought items from local store with electronics and also from e-bay.
2. First steps
Ferdo started on LED bars because we assume that this can be the biggest problem and we wanted to solve this in the beginning. From start we had only bars that are now used as G-Force and Athmosphere indicators. This is how they look from behind also with integrated circuits:


Even though it went somehow let’s say a Kerbal way, it was a success!

After that we moved to display and basic switches.
3. Display and Cardboard prototype
We have continued with display because we wanted to test also basic switches and if they are responding correctly regarding the code.

While Ferrdo was working on the display and also adjusting the code, I’ve started with the basic cardboard prototype so we can manipulate with the HW easier.


In this stage we have decided that we will use another bars for fuels, mono, power etc., and that we will use these old bars as G-Force and Atmosphere indicators. Because in this phase we already know everything that will be on our control panels I have started designing the panel.
4. Design
After some adjustments we ended with final version of our design:

I’ve prepared vector files based on this design and one of our colleagues helps us to make a prototype from wood so we can check if everything is OK before we will order final panel made of stainless steel from external company.

Everything was OK so we have ordered our steel panels from external company. We haven’t had good luck with the first company and they didn’t do the labels correctly. In fact they were barely visible. Luckily we found another company and they reworked our panels to the final look. This was the most expensive part of our panels and one piece cost us almost 100 euros (because of double work). But when they arrived we were finally happy with the outcome.

While we were waiting for steel panels from external company we was soldering all parts for the second panel and I was able to prepare box cases from wood.


5. Another Led bars and finishing touches
The set of five LED bars took us some time to finish because there were a lot of soldering and coding work. But finally we were really close to the end and therefore hyped. We went to the local store to buy final LED lights (I think it was 7865th visit of this store :D) and started to mounting everything to the panel. It was a really big mess of cables.

We did the final soldering and check and we finally put everything inside the box. After some finishing touches everything was functioning correctly!

Everything was a little more complicated as described here because we were learning on the fly
You can find the source code to this Arduino project at: https://github.com/ferrdo4/KerbalController
Video from action is coming soon!
-
Hi guys,
I had break from KSP for almost 2 years but we have decided with my friend (Ferrdo_Kerman here
) that we will make something that we wanted to have all the time while playing this fantastic game.
So we made 2 same control panels, it was ton of fun and we are looking forward to start new hardcore career
If someone is interested in more pictures and details during this developing process I will post it here for everyone. For now I'm posting just final result (display is switched to development mode). Enjoy!
-
Having the same problem with the same 2 joysticks. :-/
-
This is a must have mod! @sarbian & @nightingale (and of course all other modders) thank you for your hard work.
-
On 10/27/2016 at 8:30 PM, oguz said:
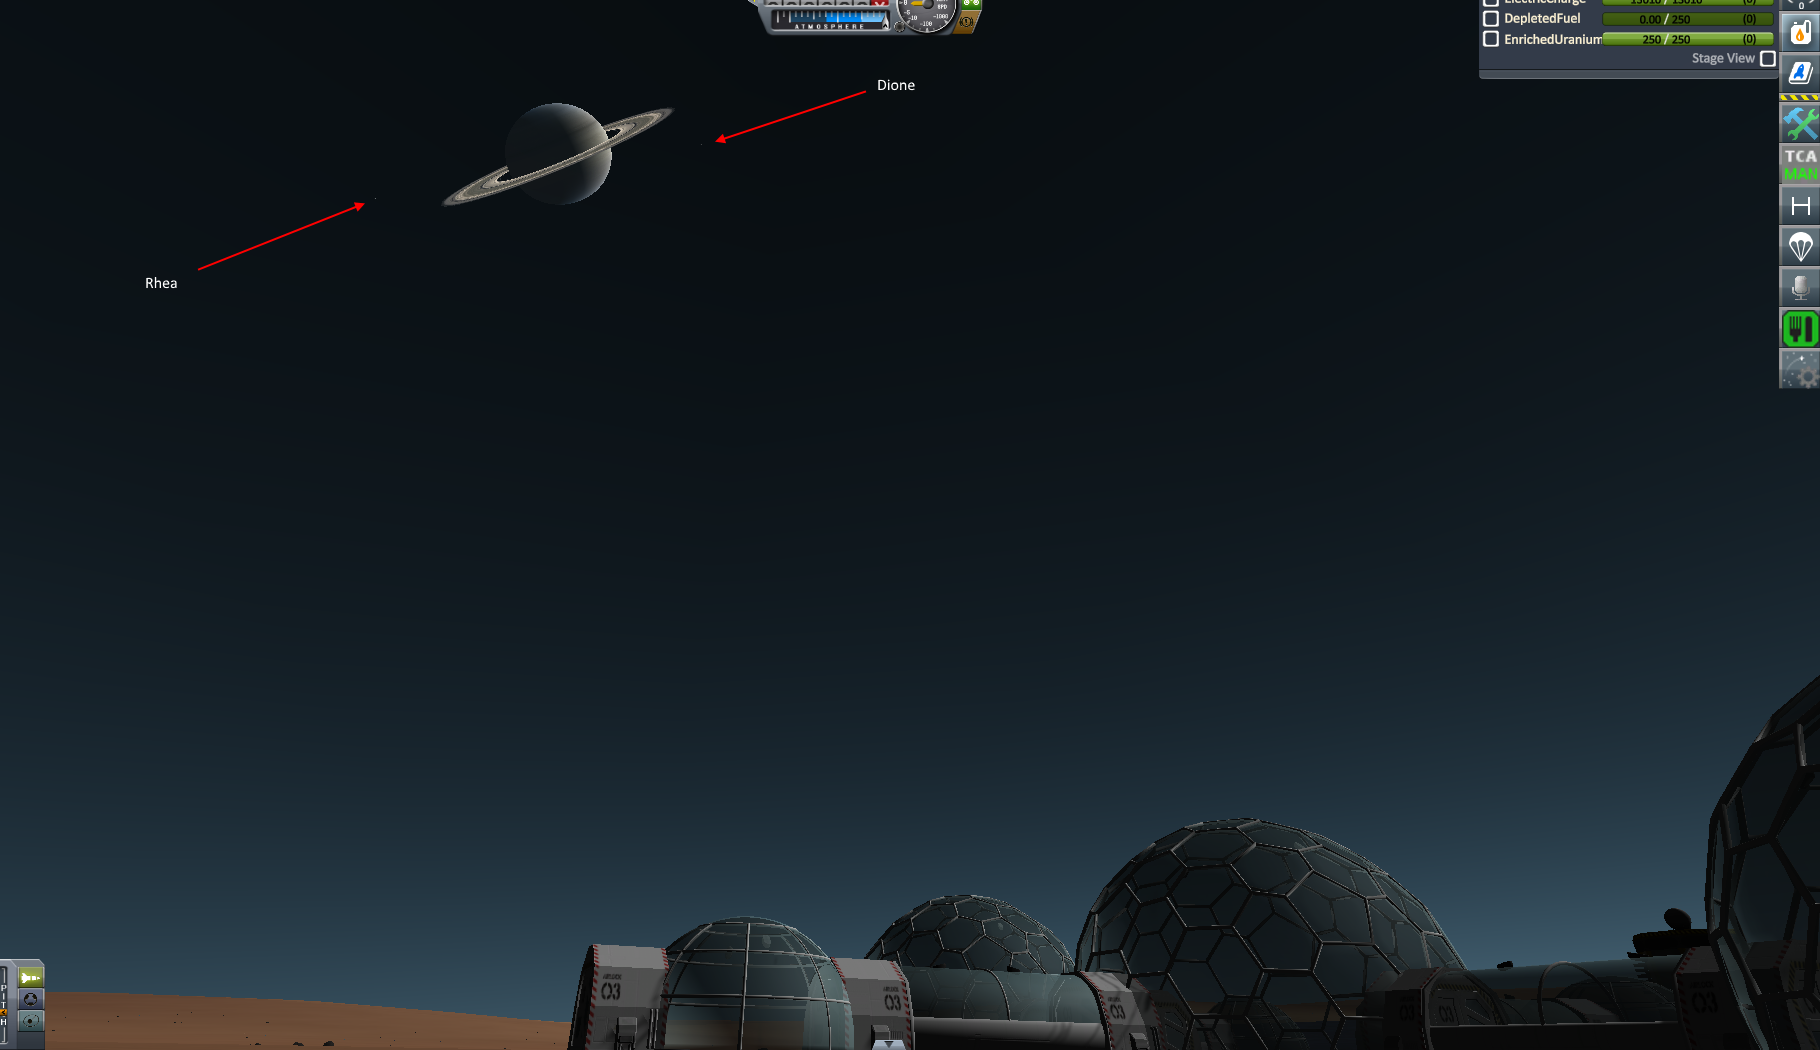
Morning in Titan
Really nice, can you please tell me the name of this mod?
Must have for me... thanks
-
Thanks, audio is the hardest part for me because it is very hard for me to imagine what would be best for the particular scene and I don't have patience for searching for music / sound effects
-
Hi guys,
I've finally finished part II of Singularity. I hope that you'll enjoy
-
Hi guys.
I've finally finished part II of Singularity. I Hope that you'll enjoy
-
Thanks a lot Cartman
Hope I won't disappoint you in the next movie.
-
Thanks a lot man... You saved the cinematics ! Great job
-
Hi guys,
can anyone pls tell me where can I get parts used in the second picture? I'm looking for similar parts in association with this mod for some of my crafts in my next movie. Thx for help and this awesome mod
-
Hi guys, I've started my channel just few months ago ( https://www.youtube.com/user/klobuk11 ).
i want to focus on narrated cinematics. It's a longer process, but I'll do my best and maybe I'll make a sequel

Here's my first cinematic, enjoy:
-
Thanks I'll try that
-
But kerbcam dont allow you to use it while IVA'... so I don't know how you are filming it
Do you have some tips?
") Thanks for the support and quick replies. And good luck with your real looking hoses
Thanks for the support and quick replies. And good luck with your real looking hoses 
[Minimum KSP version - 1.11] Kerbal Attachment System (KAS) v1.12
in KSP1 Mod Releases
Posted
Yep I have this mod installed so it might be part from it. Thank you")