


lextacy
-
Posts
877 -
Joined
-
Last visited
Content Type
Profiles
Forums
Developer Articles
KSP2 Release Notes
Bug Reports
Posts posted by lextacy
-
-
1.does this mod load quick saves or the auto-saves?
2.does this mod let you go to the space center when the "no escape button" bug happens?
3. does your mod menu work while in flight?
-
oh I see! thanks for the good info !

-
Module Manager won't do anything with that. Your problem is because you're basically making a new part, but as the name is already used (by the normal toroidal tank), chances are that's loaded first and this is ignored.
For MM to have any effect, you'll want this instead:
@PART[toroidalFuelTank]:Final
{
    @RESOURCE[LiquidFuel]
        {
        @amount = 50
        }
}

{
        @RESOURCE[Oxidizer]
        {
                @amount = 62.2
        }
}
I think.. I've never written a MM cfg from the start before, heh.. Oh, and don't forget to save that as 'cheatyfuelindoughnuttank.cfg' or something, not the original 'part.cfg'

so this snippet with your MM will allow for a 2nd part basically that has the more fuel?
-
well not so much a code im putting in, im just editing a value........
PART
{
name = toroidalFuelTank
module = Part
author = NovaSilisko
mesh = model.mu
rescaleFactor = 1
node_stack_top = 0.0, 0.0498631, 0.0, 0.0, 1.0, 0.0
node_stack_bottom = 0.0, -0.0498631, 0.0, 0.0, 1.0, 0.0
TechRequired = precisionEngineering
entryCost = 4800
cost = 220
category = Propulsion
subcategory = 0
title = ROUND-8 Toroidal Fuel Tank
manufacturer = Probodobodyne Inc.
description = An unconventionally shaped (but undoubtedly handy) fuel tank.
attachRules = 1,0,1,0,1
mass = 0.025
dragModelType = default
maximum_drag = 0.2
minimum_drag = 0.15
angularDrag = 2
crashTolerance = 6
maxTemp = 2900
breakingForce = 50
breakingTorque = 50
RESOURCE
{
name = LiquidFuel
amount = 50
maxAmount = 50
}
RESOURCE
{
name = Oxidizer
amount = 62.2
maxAmount = 62.2
}
}
you can see where the fuel is set to 50 and oxidizer at 62, but in-game it always stays at 10 and 12 oxidizer.
-
really confused at what this does....but....does this explain why when I try to change the toroid fuel tank from 10 units to 50 units of fuel, the game keeps reverting back to 10? This happens when I have module manager installed. Isnt the point of module manager to allow those .cfg edits to remain ?
-
@lextacy: Is this behavior "the failed crew transfers" you were talking about?
EXACLTY!
ill try this method when I get around to downloading the new version again. -
1: Press tab in map view until you are focused on Mun/other body.
2: Press Alt + N and click remove until all layers are gone, or just removes the ones you don't want.
If this doesn't help and or is not what you're asking for, getting rid of clouds on the moon...
Don't do drugs, kids. ᴰᵒᶰ'áµ— ᵈᵒ ˢᶜᶦᵉᶰᵗᵒᶫᵒáµÂʸ ᵉᶦᵗʰᵉʳ⋅
haha okay, I wont, and thanks much for the tip!
-
is there anyway to disable clouds on non-atmospheric bodies such as minumus/mun? It looks bad in my opinion and not realistic when trying to land. I do like having clouds on Kerbin, they are done nicely . I don't want to lose that, but I want the moon clouds gone......
-
That is a cool rover! Any tips for how to get things to land so close to each other in planets with an atmosphere btw? I always struggle to know how much to overshoot to deal with aerobraking (don't use any mods atm)
thanks...by using MEchjeb I was able to get all the parts to land with it 100-200m of eachother. It was a chore but it pays off in the end.
-
How would we make a cargo dragon? Take the dragon pod, remove the internals and replace the manned thing with a probe core?
get the KAS mod and add this line of code to the part file
MODULE
{
name = KASModuleContainer
maxSize = 80
}
then the dragon "cargo trunk" will be a real cargo truck
I set mine to store 200 units. I throw in some extra solar panels and engines and im set ! With this simple code you can make anything a storage hold such as the hitchhiker, science modules, or even a fuel tank LOL -
has this mod been fixed to solve the failed crew transfers?
-
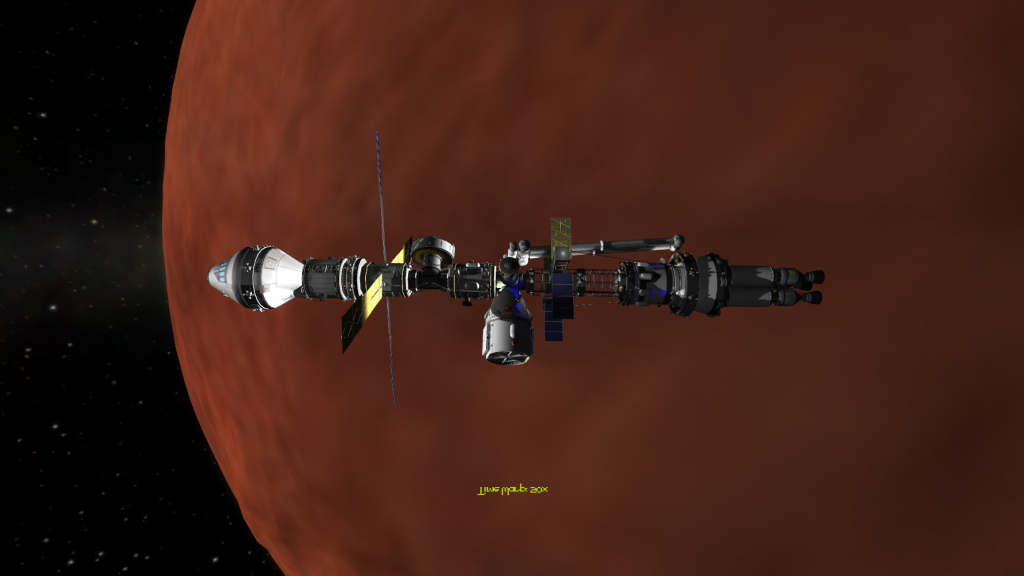
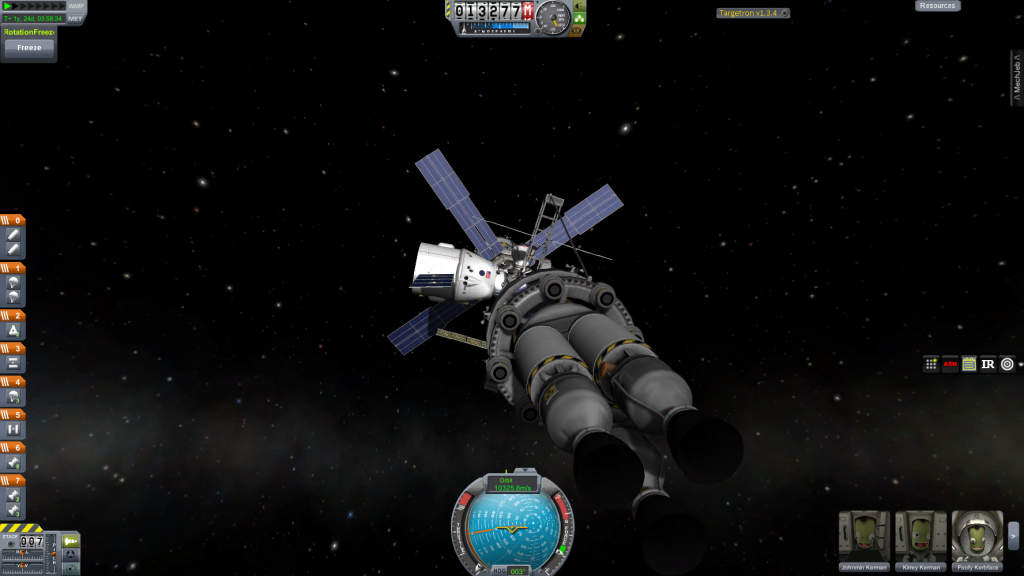
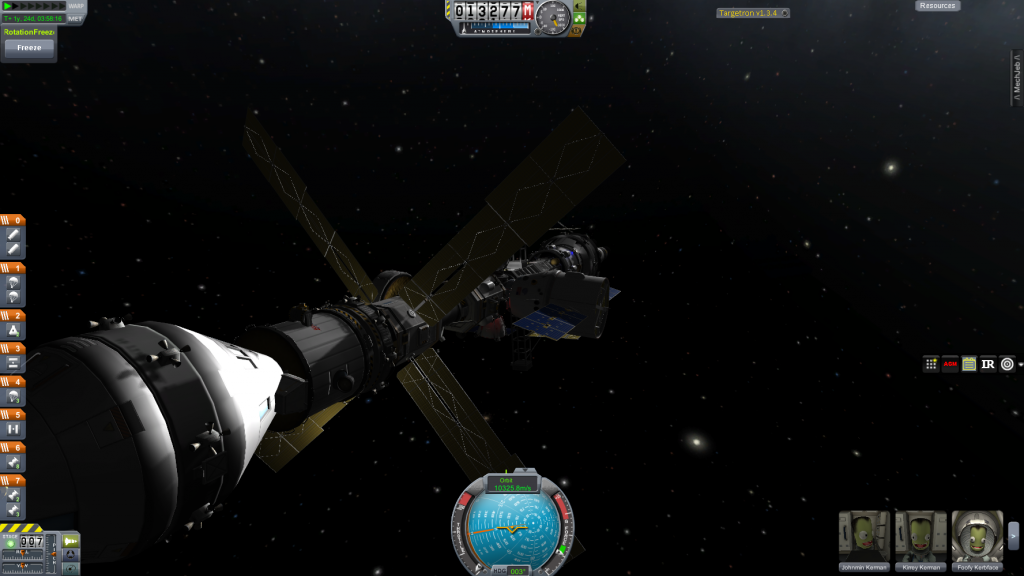
WE ARE HERE !
-
We have arrived ! Well now we must do an orbital injection before we start shuffling crew over to the Dragon. Fuel was pretty low. Wont have enough to get back. But no worries, an ATV tanker will refuel it 10 days prior to departure

-
one bug you might wanna look at for your next release.........
Docking washers also jerk 180 degrees when re-visting your craft, just like the others here complained when their powered hinges do the 180 flip or even break off magically.
-
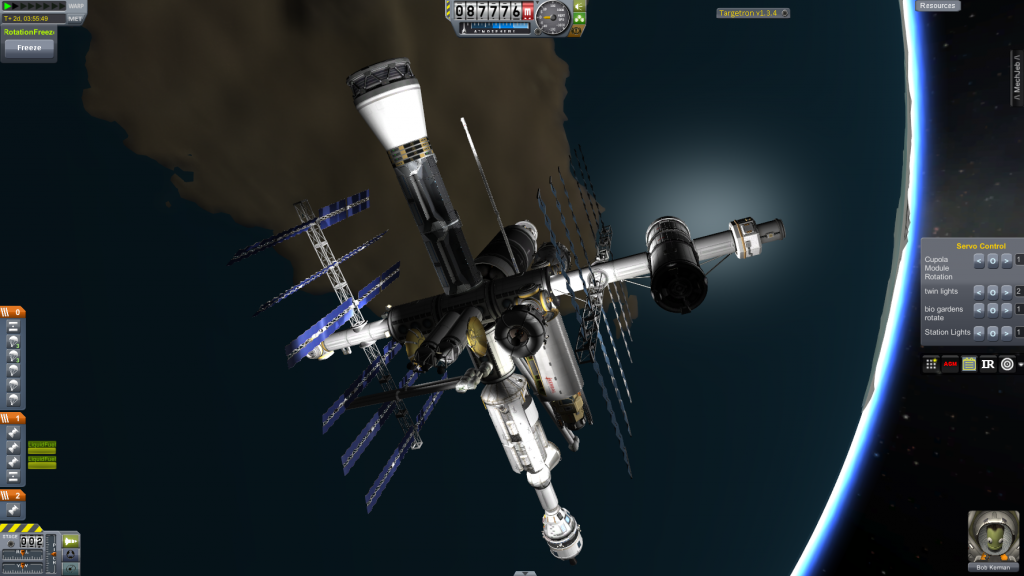
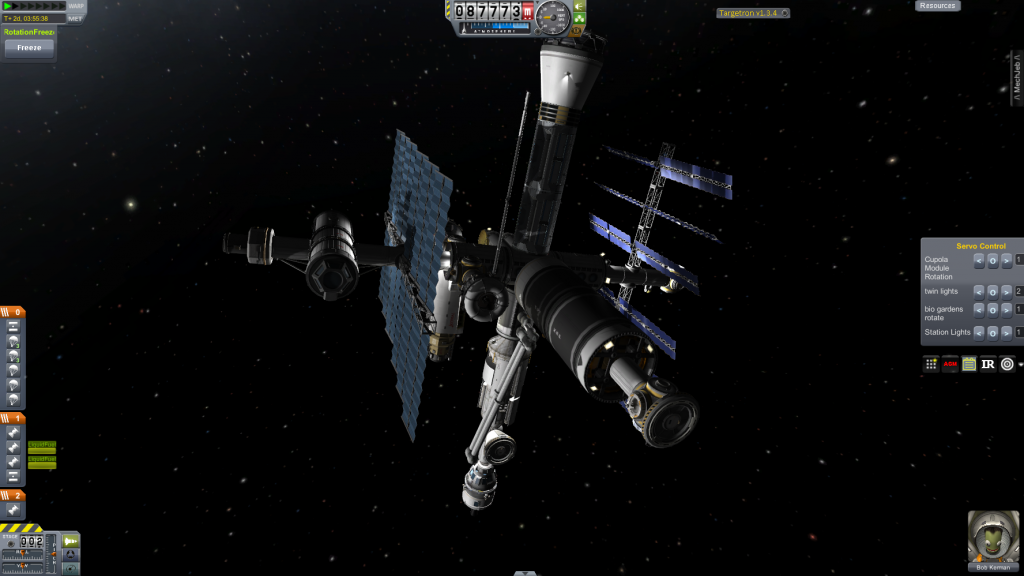
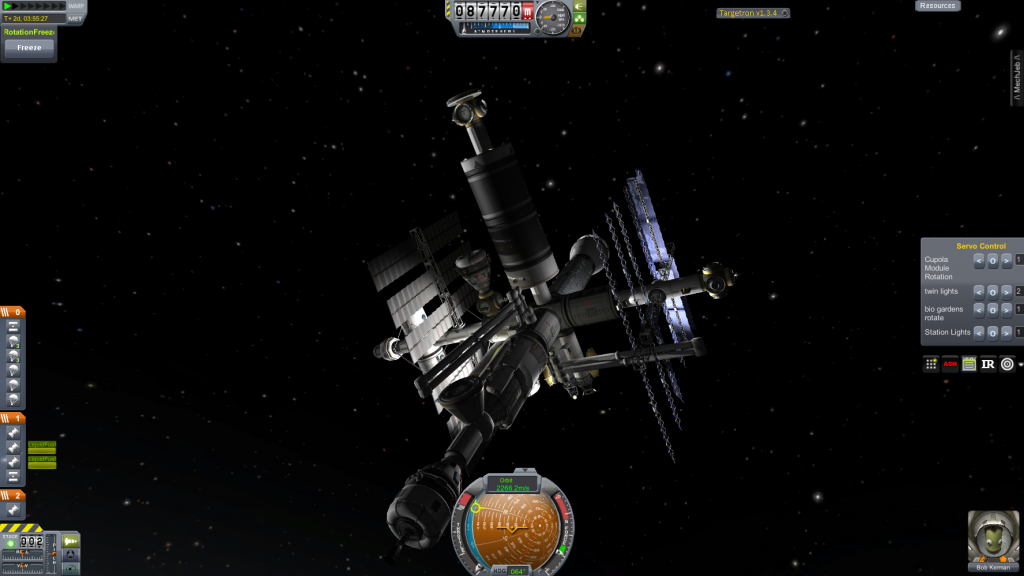
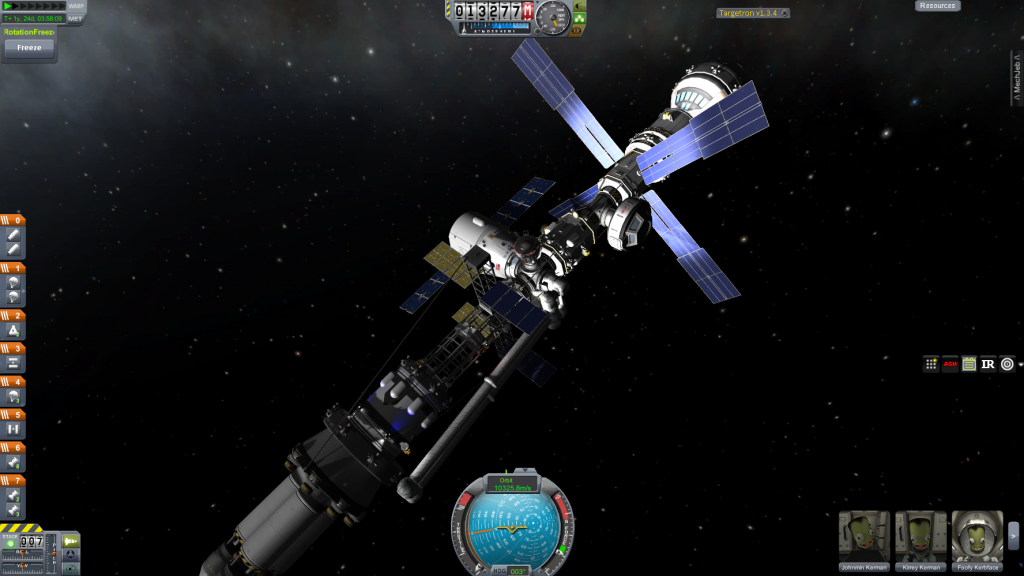
Kerbal International Space Station or AKA K.I.S.S. haha get it?
Features
-2 main solar arrays
-dedicated shuttle docking port
-2 docking clusters that support all ship types
-Re-fuel/monoprop module for all your needs
-rotatable cupola module
-rotatable lights so you can aim lights during docking or self illuminate station
-rotatable greenhouse/bio section so that the sun will always provide direct sunlight to module
-2 escape pods that hold 3 crew
-ATV vehicle
-3.75 meter dock for future craft such as intersteller ships or tankers
-cargo hold with opening doors that hold kerbal attatchment stuff and supplies
-RSC tug
-2 Canadarms and 1 buran manipulator strategically placed among the station to grab any craft or do self station work.
-
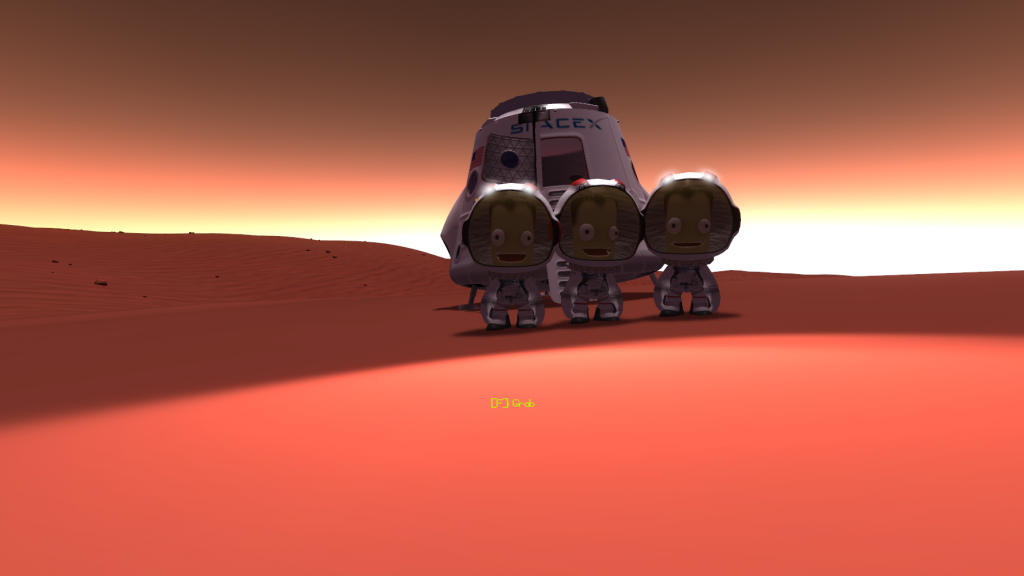
The time is finally here. We have worked hard to get to this point. We have learned all we need to. The kerbals are now confident. After a few fatalites in some past missions, 7 brave Kerbanauts will take on the near impossible dream of landing on Duna. I present..........
DunaONE
Five unmanned rockets will carry the necessary groundwork to Duna. All automated and provides a welcoming feel to the Kerbs when they arrive.
1. NASA SLS heavy will carry the Biogardens and Greenhouse in 2 launches
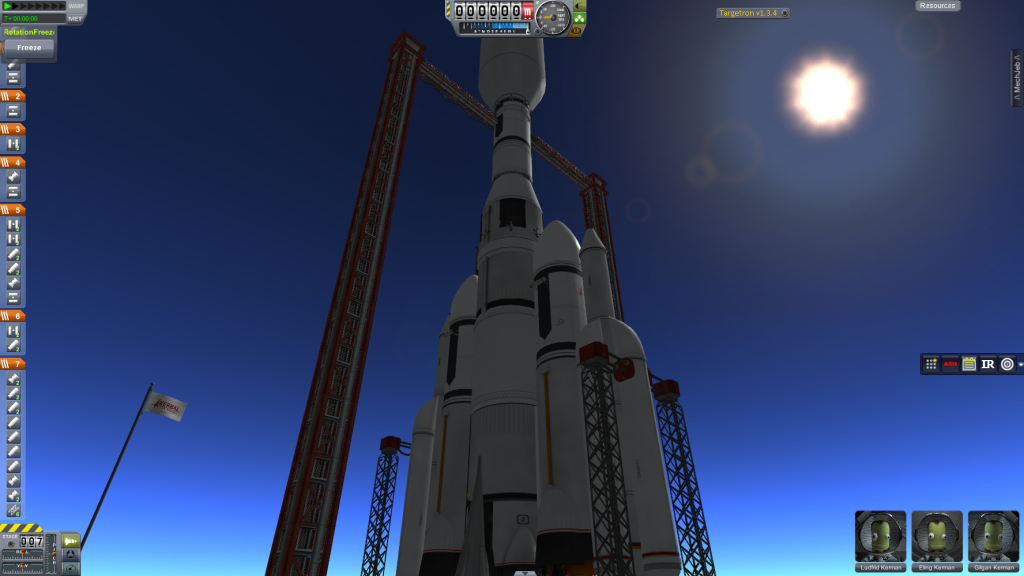
2. Deep Space will launch 2 more modules such as the habitat and science module.
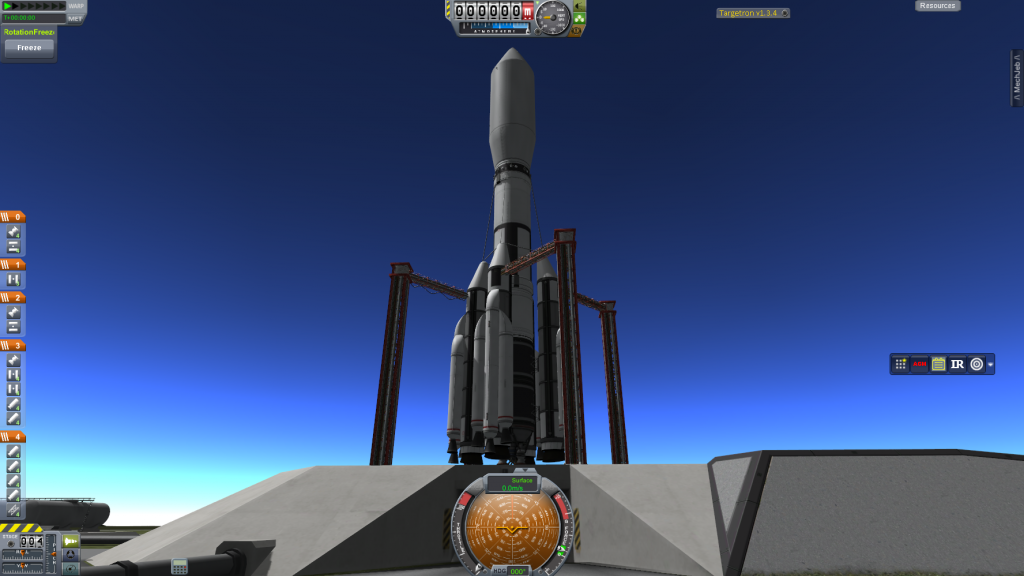
3. NASA SLS will lift the heaviest load of the mission and carry a pressurized rover, cargo platform, and an observatory
.. All launches are spaced out 3 days to give each rocket time to Duna inject properly
Three More unmanned vessels will be launching into Kerbin orbit to make way for orbital construction of the massive Discovery ship that will take the manned crew to Duna. The Russian Titan will be lifting the 3 sections in place. Leaving 1 crew member to EVA the 3 sections together using struts.
1. Command module/storage
2. Habitat/Quarters/Docking bays 1-3
3. Stardrive/solar truss and engine cluster(housing 3 nuclear propulsion and 8 ions)
Pic of Titan
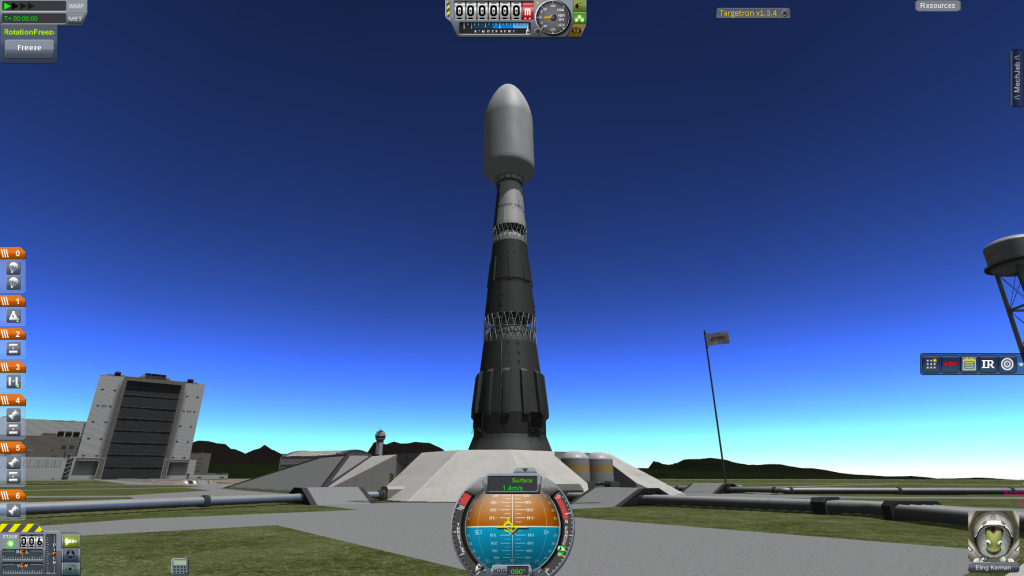
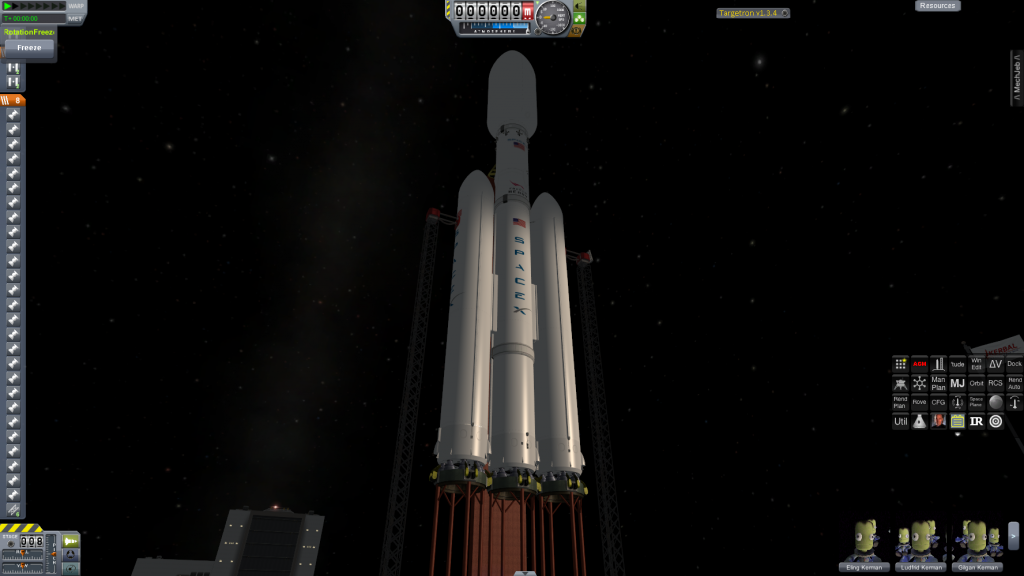
Space X Falcon 9 heavy lifts off 6 crew members on a glorious day of voyage and science. The Dragon capsule will dock to the Discovery and then be used later as a Duna lander and again as a lander for Kerbin return.
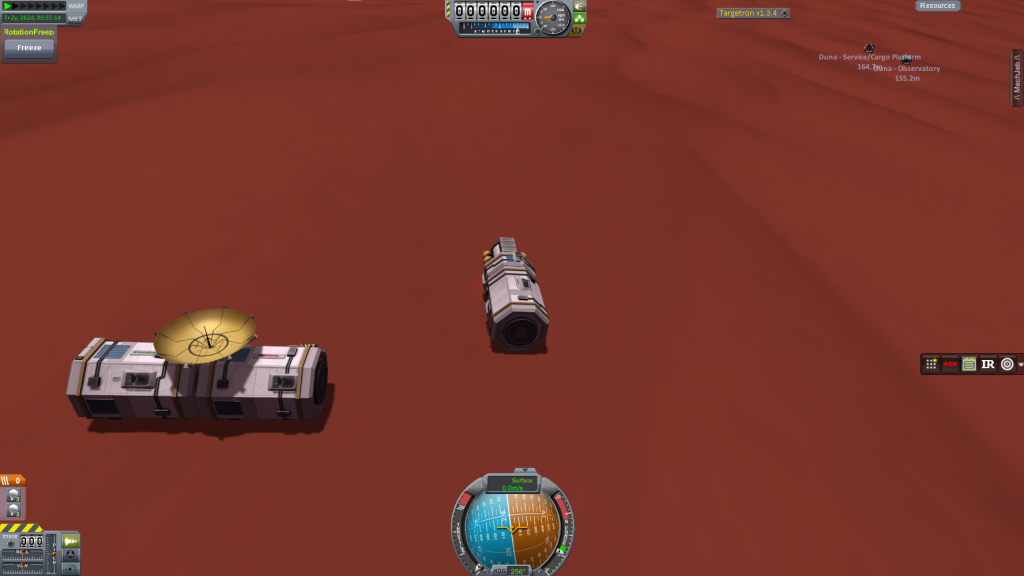
The unmanned drop offs scattered on the Duna surface. Later to be winched together in a base.
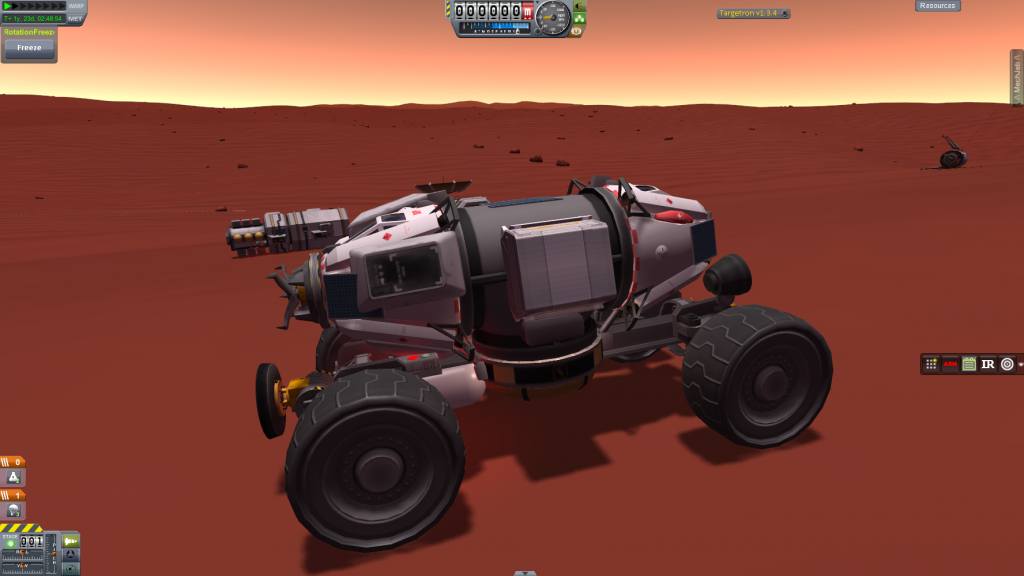
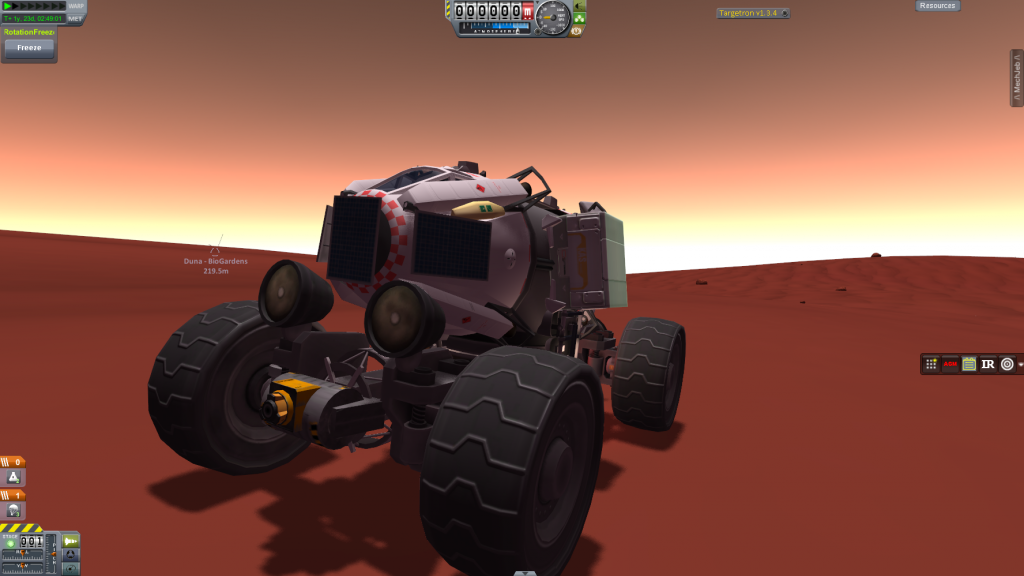
This rover is a BEAST
Discovery Vessel which takes the 199 day voyage and carries 7 kerbs.
Well as of writing this the Kerbs are just outside the SOI of Minmus. In 13 days they need to make an adjustment burn when they have reached Kerbol AP. This story will continue. This story will be told. This story will have videos to come
-
You want your apoapsis height to be increasing as you ascend, while also having your time to apoapsis increasing, or at least holding constant. That all depends on your TWR during.your various stages, but ideally your rocket should be heading at or close to 90° by the time you are at 40-50km
this...you said it in a more compact way
Not all rockets are the same so that means different orbital turn altitudes for diff sizes,shapes,weight. As long as you follow FenrirWolf's rule you will be in orbit! -
The trick to that is to make sure your "chasing" the apoapsis constatly while tipping over slightly after you have past a comfortable atmospheric height. Remember the heavier the rocket, the later your gravity turn has to be. Make sure you do not go past the blue AP marker or your now kerbin-bound to the ground. Once your predicted AP is 100+KM only then you can think about chasing the prograde marker. Go prograde untill the blue arch is more circular . THen cut off engines ad make a orbital manevure node.
I found in my experiments if your potential AP is below 100km and you have a large rocket and you go prograde too early, youll find yourself falling to rapidly to kerbin below the 70km mark , and when that happens you can no longer progade your way to an orbital velocity.
-
These will work thanks! I'm still figuring out how the joints are popping and how to resolve it. These test cases will help as when I think I got I done I will run through all those submitted.
If I proceed to download this beta and I already have IR on a space station .... will this breath new life to my station or corrupt the station? I mean all you did was make sure that the joint system is now compatible with your mod? Thanks for your hard work btw!
-
I have a few questions about the satellite capture frame.....
1. does this really capture any craft in space using the reusable fairing payload bay?
2. does it work by magnetics or docking port?
If this is a functioning piece , this is by far incredible use of tactics that spacex should use in real life!


[0.24] - Magic Smoke Industries DevHelper v0.6
in KSP1 Mod Releases
Posted · Edited by lextacy