
Content Type
Profiles
Forums
Developer Articles
KSP2 Release Notes
Posts posted by CardBoardBoxProcessor
-
-
It is going to be pretty epic. I am assuming that leg is for Grasshopper 2.
-
The man himself. Elon Musk (twitter)
-
it's... so beautiful.
-
I know that no one cares about the gimbal. But I do. If i did the angara and then they released the gimbals.. i would need to do it all over again twice :/ and the current angara stuff is so outdated. '
For example they still take after the old style of kosmos stuff more than the new stuff. you certainly wouldn't like to combine parts form the two different eras.

-
Welll i havn't exactly put all that much work into it

-
Cool. good to know
Will be releasing an update eventually that fixes the problems with the RCS when it comes to translating. No more flipping and spinning for no reason  Thanks C7
 -
Yeah if you are going to take a trip to see a launch wait for the heavy.
Though... recently watching Antares lift off... that is a rocket worth launching. it stays in view for so long. I goes up 3 miles before it even does gravity turn lol and that takes 75 seconds.
-
The Dragon Capsule is basically the minivan of space transportation with it’s ability to hold Seven crew members and it’s spacious interior. It comes fully equipped with built in a docking and propulsion to allow it to shuttle its crew and cargo about in orbit. The Dragons array of Lights, landing gear and engines enable it to be the perfect drop pod to make landings on any celestial body.
DOWNLOAD!- All rights Reserved by cBBp
R4:
Band-aided Solar and Landing leg animation problem. only real fix is a DEV fix.
removed Dragon Brain as it is pointless now.
Changed some engine power and the like.
added Reaction Wheels to Capsule.
R3:
Fixed RCS Translation instability
made compatible with 0.20 finally….
added mechJeb2 support to brain and Capsule (AFAIK not tested)
Added Docking Cam Support (AFAIK not tested)
Press:


IVA scene Contest. (All rights reserved)
Download: https://www.dropbox.com/s/orvjijt6ukoiq1r/unity.rar
-
Angara I am still waiting for a single axis gimbal ability. Though one issue is Kosmos limits creativity so much by making me conform to a pre existing thing.
-
indeed. i will have to update them. thanks.
-
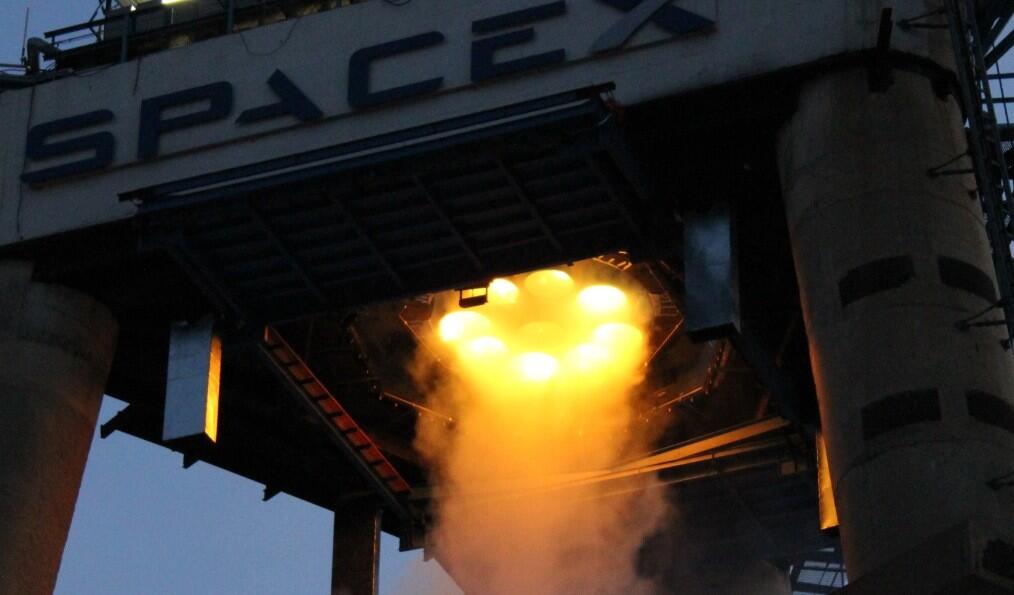
Yep it burned quite alot of grass lol.
-
IIRC the Nk-33 engines never saw flight til yesterday. NK-33 was the most efficient until the Merlin 1D came along from spacex. perhaps 1C as well but i forget.
-
Antares isn't exactly a rocket I am interested in really. It was just a 2 hour drive so i went to go see it. the NK-33 engine it uses however is another story.
-
Antares Launch from 1.8 miles away
https://www.facebook.com/media/set/?set=a.10200539420862342.1073741825.1062953631&type=1

-
Elon Musk â€Â@elonmusk 1h
@dbhyslop Will post a video of the latest Grasshopper flight tomorrow (taken from the camera on our new hexacopter).
-
-
Well since the last requests were lost in the roll back. Any requests?
-
Bork did you see the height and such?
It's on L2. anyway. It goes like this. It first appeared on the FAA upcoming launches list. It quickly disappeared and has yet to appear on completed launches list however Antares is still on the upcoming list. Thus it happened. Then several people confirmed seeing it fly in person.
-
pssh. in october none of the new parts where even made at all lol.
-
apparently this got deleted. thank hoojiwana for its return.
-
You should watch C7s tutorial first and make sure everything normal works fine before adding emissives. I thought there would be one out by now. But alas there is not. So here you all go
1. Select your material for your part
2. Find KSP
3. Select Emissive. pick one of the options. They are self explanatory, Specular gives emissive with specular and such.

1. Put your diffuse in the top box.
2. put your emissive in the Emissive Slot.
3. Emissive textures should be black where they should be uneffected, white where fully effected. The whiter the more it will glow. Note the nozzle section of the emissive map is white where as the rest is black. the small tubes and details are faint grey. This will make the nozzle the most effected/the brightest.

1. Select your Game object
2. Go to Window>Animation
3. Note the animation window with your part name in it.

1. Click the arrow to drop down the list of other items.
2. note The parts parented to the main part are now visible.

1.Click the little arrow thing I have circled
2. Click Create New Clip
3. Name the animation and remember the name.

1. find the material name under the part and expand it.
2. set the time to 0 by typing 0 into the box the 2 is on
3. notice the 3 emissive color values. Select them so you don\'t mistake them for another component.

1. For the three colors click the little DASH to the right of the name
2. Hit add Key. You can use curves but they are a little whacky. You can always click the dash (which will have become a diamond) and delete curve if you make a mistake.
2b. Do this for all three.

1. Change the time to 60 seconds. This is an adequate amount of time to give enough control of the animation with out too many frames. You can type the value or drag the bare where the red arrow is.
2. At the 60 frame mark add Keys to each of the three emissive colors again.

1. Notice I am playing with obj_gimbals\'s material\'s values at the 60 frame mark and the model shows this happening. You can manually type the values in OR
2. Drag the keis up and down in the curve window.
3. If you cannot see the tops of the keys you can hit the play button and then go back to the same time and it will adjust the focus of the curve window to fit better.
4. notice only the part I am adding keys for changes. you need to add keys to all parts you want effected. This allows for different colors on different parts and materials and such.
5. now all you need to do is make the animation as you would like to see it and export your part to .mu
6. Please note that this is based off engine heat. about half way through the animation is all you will see if you never get an overheat warning on your engine. after you get an over heat warning it will begin to play the rest of the animation. Keep this in mind.
7. You can add as many keys between the two as you want to adjust what you see in game. I like to have it slowly heat then at the half way point really make it glow how to signify overheating. i do this by adding more keys and making it sort of make a tilted ~ shape in the curve window.

1. add 'ThermalAnim = <the name of your animation you named in picture 5> ' and then you should beable to see it in game,

Moderates pPLEASE do not remove the images. High Quality is essential for the modder to see exactly what to click and do as Unity has small text. As for smart Phones. I doubt there people are modelling on smart phones.
-
IVAs take so much work. I do plan on making them. just sort of waiting to see what direction the stock parts will go station and IVA wise.
i did add crew manifest mod support previously though so now you can shuttle and stock kerbals up on the station parts with out EVA walks if you have that mod.
-
Okay added a new panel just because. Everyone loves panels
it was a request someone made. Hopefully more smaller missing parts to come soon. -
Normak Lives! Run Cowards! He Hungers!
every author needs and editor

 Thanks C7
[WIP] KerbX - A SpaceX analogue for KSP
in KSP1 Mod Development
Posted
welp with the SPA announcement and the calculations from NSF it seems that last flight of the grasshopper 1 was about all we will probably see from it for a while.